Home and Garden
How to Limewash Your Stone Fireplace
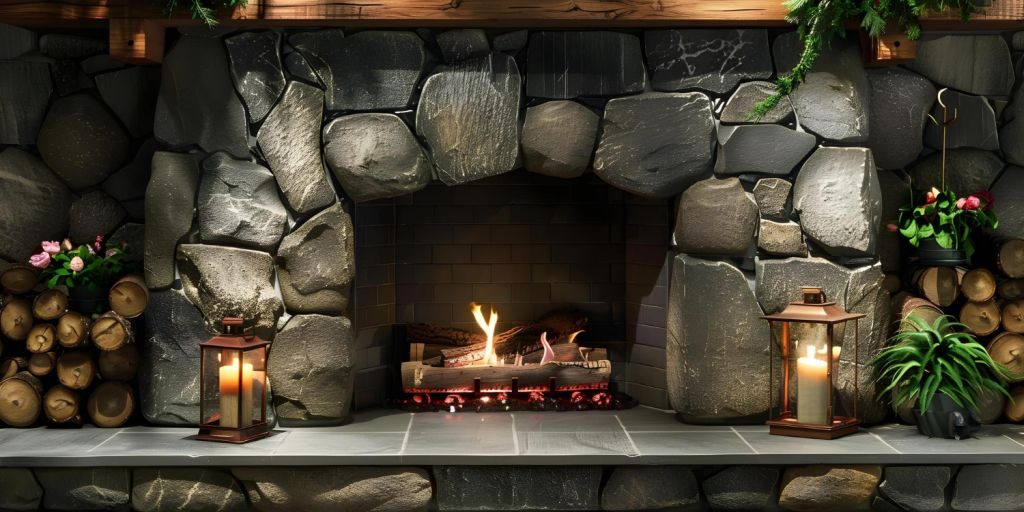
Welcome to a step by step guide to limewash a stacked stone fireplace. It’s a pretty simple process. Actually, we did this a few days ago, and are very satisfied with the results. I hope this motivates you to do the same. Without keeping you waiting, let’s uncover our secrets to limewash your stoned fireplace.
Why Use Limewash On Stone Instead Of Painting It ?
There will be several of you who might be asking, why did I choose to limewash my stone fireplace, instead of painting it ? Well, here is the answer to that question
Most importantly limewash is removable within the first five days of applying it. This made it risky for me, since it’s my first time doing it. Now, i know that at the finish it would be messy and stressful to remove it if i didn’t like it, but since it’s not permanent, i was okay with it.
Should I Update My Stacked Stone Fireplace ?
It all depends on you. Natural stone is always a good option in my opinion. Still, our stone was not real, and i didn’t like how it would turn out. In order to have a professional limewash this (which is the best and also safest the option) it would cost us $1000. However, we were able to get it all finished in under $200. Even though it was 3 stressful days to finish it, it was totally worth it. We had a little help from professionals on exterior stone, and we liked the outcome.
Preparation
First of all, clean the stone before painting it. The fireplace is inside, so it should be clean, however it can be dusty, so make sure to clean it.
- Tape Off the surrounding wall with paper
- Cover the floor with dropcloth
- And finally, turn on some music that you like and start your project!
The Supplies
This is everything you need to limewash your stone, and they are all equally important.
- plastic bucket
- multiple white rags
- large Romabio paint brush
- spray bottle filled with water
- Romabio Classico limewash paint tinted to the color of your choice
- and some gloves to protect your hands
About Limewash
Romabio created this limewash, and i must say i am amazed, it cleans up beautifully and is free of any fumes or smell, it was so much fun working with it. I used a soft beige color and it looked pretty nice, you can choose any color that you like. Find out which one of your local paint stores has this.
Dilute The Limewash
Obviously you should dilute it. I recommend you dilute it 50-100 %. At the beginning i used just one cup of paint and ½ cup of water. Learn from my mistake and use ¾ cup of water. Even though its not easier to paint it with, it’s definitely much faster, which is in my opinion better. Now comes the annoying part, since it’s a messy paint and it will be dripping while you do it. But have no worries if it happens, you’ve covered your floors, you’re safe. Keep track of your proportions so that you can replicate it, as you continue. I added only 1 cup of paint with the water before it was wasted. Later i mixed more, i just didn’t know how much we would go through.
The Five Simple Steps
- spray a section of stone with water
- apply limewash with the brush
- let dry 10-60 minutes (I waited 20-30)
- spray with water again
- use a rag to distress to your liking
-
Spray The Stone With Water
It’s pretty self explanatory. Remember it should be damp not dripping. If it’s too wet, then just gently tap it with a rag.
-
Brush On The Limewash
Dip your brush and start painting the stone, and remember it’s totally ok if it’s drippy and messy. Also very important, don’t submerge the brush, about ½ an inch of paint is enough.
-
Allow Limewash To Start Drying
Wait about 20-30 minutes
-
Spray With Water Again
I did the same as in Step 1, just repeat it
-
Distress With A Rag
Distress it however you want. This can get complicated as the paint looks more diaphanous when it’s wet. Make sure to give it a good scrub for color variations coming through. Dilute it at about 75% and you should see color variations come through.
Conclusion
Even though it was pretty stressful to finish it, in my opinion it’s totally worth it. I am writing this few weeks after i finished it, and i must say that i’m really satisfied. I hope this tips can help you to limewash your stone fireplace,and i hope i gave you more motivation to finish it. Trust me, it will be worth it.
Home and Garden
How to Choose the Right Lighting for a Warm and Inviting Home

Lighting is one of the most powerful design elements in any home, even though it’s often forgotten. The right lighting doesn’t just brighten a room, it sets the mood, enhances comfort, and makes every corner feel much more welcoming. It doesn’t matter if you’re designing a cozy living room, a relaxing bedroom, or even a functional kitchen, the type, placement, and style of lighting can completely change the atmosphere. In today’s guide, we’ll explore how to choose the right lighting to create a warm and inviting home that balances beauty with functionality.

Natural vs. Artificial Light: Finding the Right Balance
Natural and artificial light both play a very important role in shaping the atmosphere of your home, and finding the right balance between them is key. Natural light brings warmth, energy, and a sense of openness to any room. It enhances colors, improves mood, and can even make small spaces feel larger. However, natural light isn’t always available, especially at night or in rooms with limited windows. That’s where artificial lighting comes in. The right fixtures and bulbs can mimic daylight or create cozy, intimate settings depending on your needs. To achieve balance, maximize daylight with sheer curtains or strategically placed mirrors, while complementing it with layered artificial lighting. Use warm-toned bulbs in living areas for comfort, and brighter, cooler tones in workspaces like kitchens or home offices. When combined thoughtfully, natural and artificial light can work together to create a home that feels both inviting and functional.
How Color Temperature Affects Mood and Space
Color temperature plays a major role in how a room feels and how people experience it. Measured in Kelvins (K), color temperature ranges from warm to cool tones. Warm light, typically around 2700K–3000K, gives off a soft, yellowish glow that creates a sense of coziness and relaxation, which is perfect for living rooms, bedrooms, and dining areas. On the other hand, cooler light, ranging from 4000K–5000K, has a brighter, bluish tone that promotes alertness and focus, making it ideal for kitchens, bathrooms, and workspaces. Choosing the right color temperature can completely transform a space’s mood. A bedroom lit with harsh cool light may feel cold and unwelcoming, while a warm-toned bulb in a home office could reduce productivity. By matching the color temperature to the function of each room, you can strike the perfect balance between comfort, functionality, and atmosphere in your home.
Using Dimmers and Smart Lighting for Flexibility
Dimmers and smart lighting are powerful tools for creating flexibility in your home’s atmosphere. A dimmer switch allows you to adjust brightness levels to suit different activities, for example, bright for reading or cooking, soft and low for relaxing evenings or intimate gatherings. This small adjustment instantly changes the mood of a room without the need for new fixtures. Smart lighting takes flexibility a step further by giving you control through apps, voice commands, or automated schedules. You can set scenes for movie nights, mornings, or bedtime routines with just a tap. Some systems even let you change color temperatures, shifting from energizing cool light during the day to warm, calming tones at night. Both dimmers and smart lights also offer energy-saving benefits by reducing unnecessary brightness. Together, they give you complete control over your home’s ambiance, thus making sure that each space feels comfortable, adaptable, and perfectly suited to any moment.
Conclusion
The right lighting can completely transform your home, turning ordinary rooms into warm, inviting spaces. By balancing natural and artificial light, choosing the right color temperatures, and using flexible tools like dimmers and smart systems, you can create an atmosphere that’s both functional and beautifully welcoming for every occasion.
Home and Garden
How Professional Pet Stain Removal Protects Your Home and Keeps It Fresh
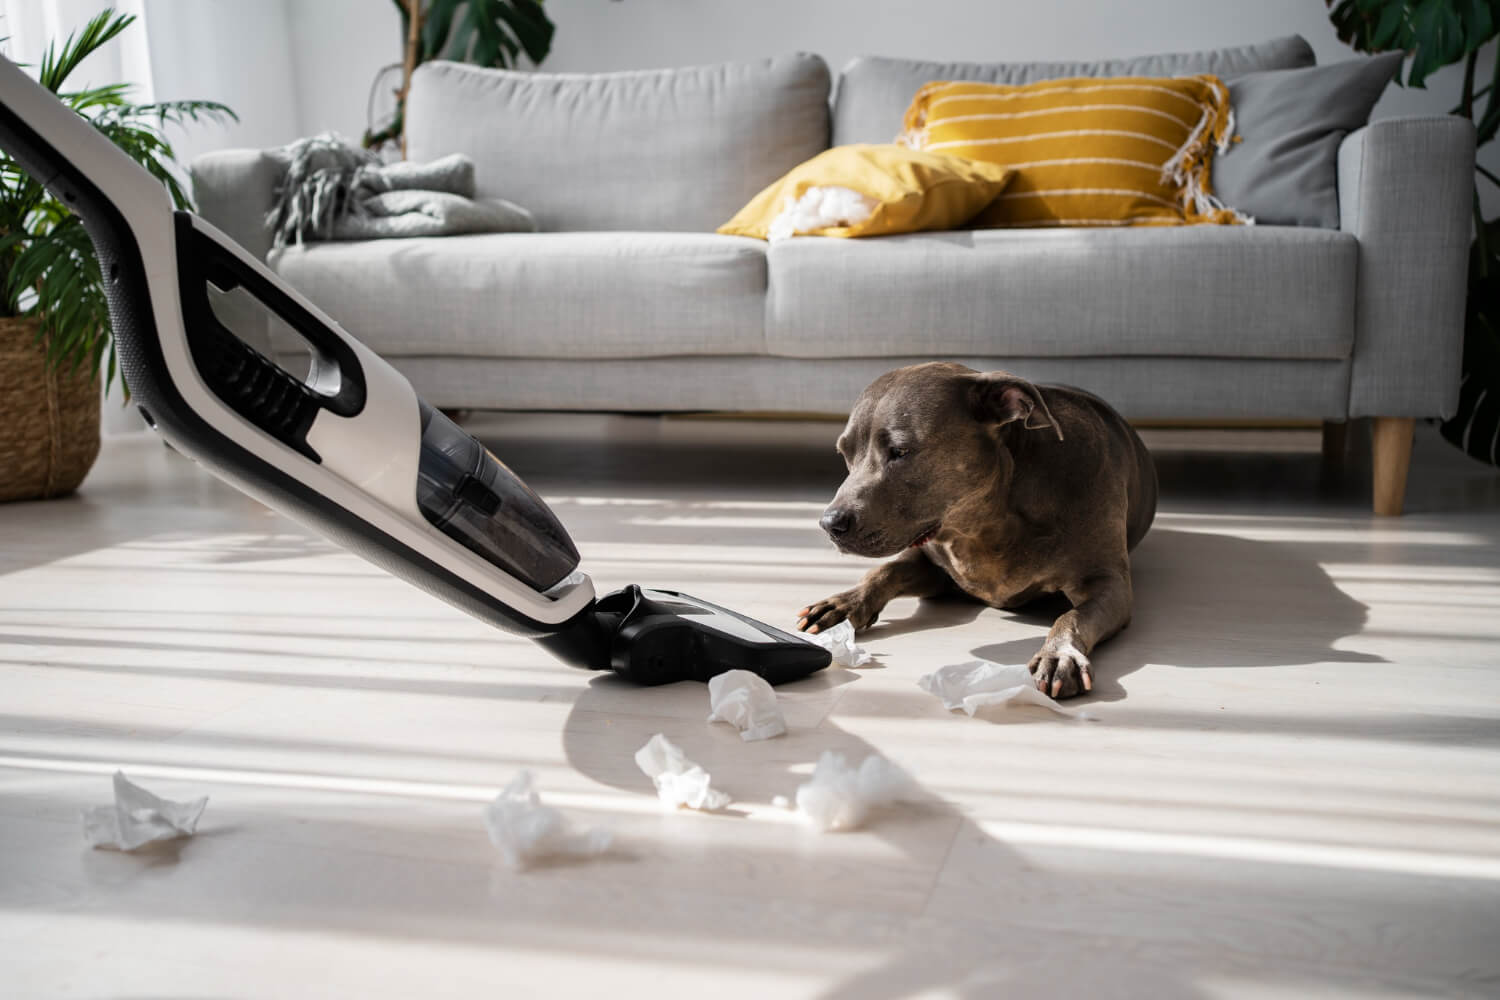
Keeping a clean and healthy home environment is important for every household, especially for families with pets. While pets bring joy, comfort, and companionship, they can also cause challenges when it comes to maintaining cleanliness—particularly when it comes to stains and odors. Pet accidents leave behind more than just a mark on carpets; they soak deep into fibers, cause long-term smells, and can even affect indoor air quality. This is why many homeowners look for reliable solutions early on, often turning to a pet stain removal company in Phoenix.
Professional removal services go far beyond basic cleaning products. They are designed to target the source of odor molecules, sanitize affected areas, and restore the comfort and freshness of your living space. For homeowners who want long-lasting results and protection for carpets, upholstery, and flooring, this type of service becomes essential—not just optional.
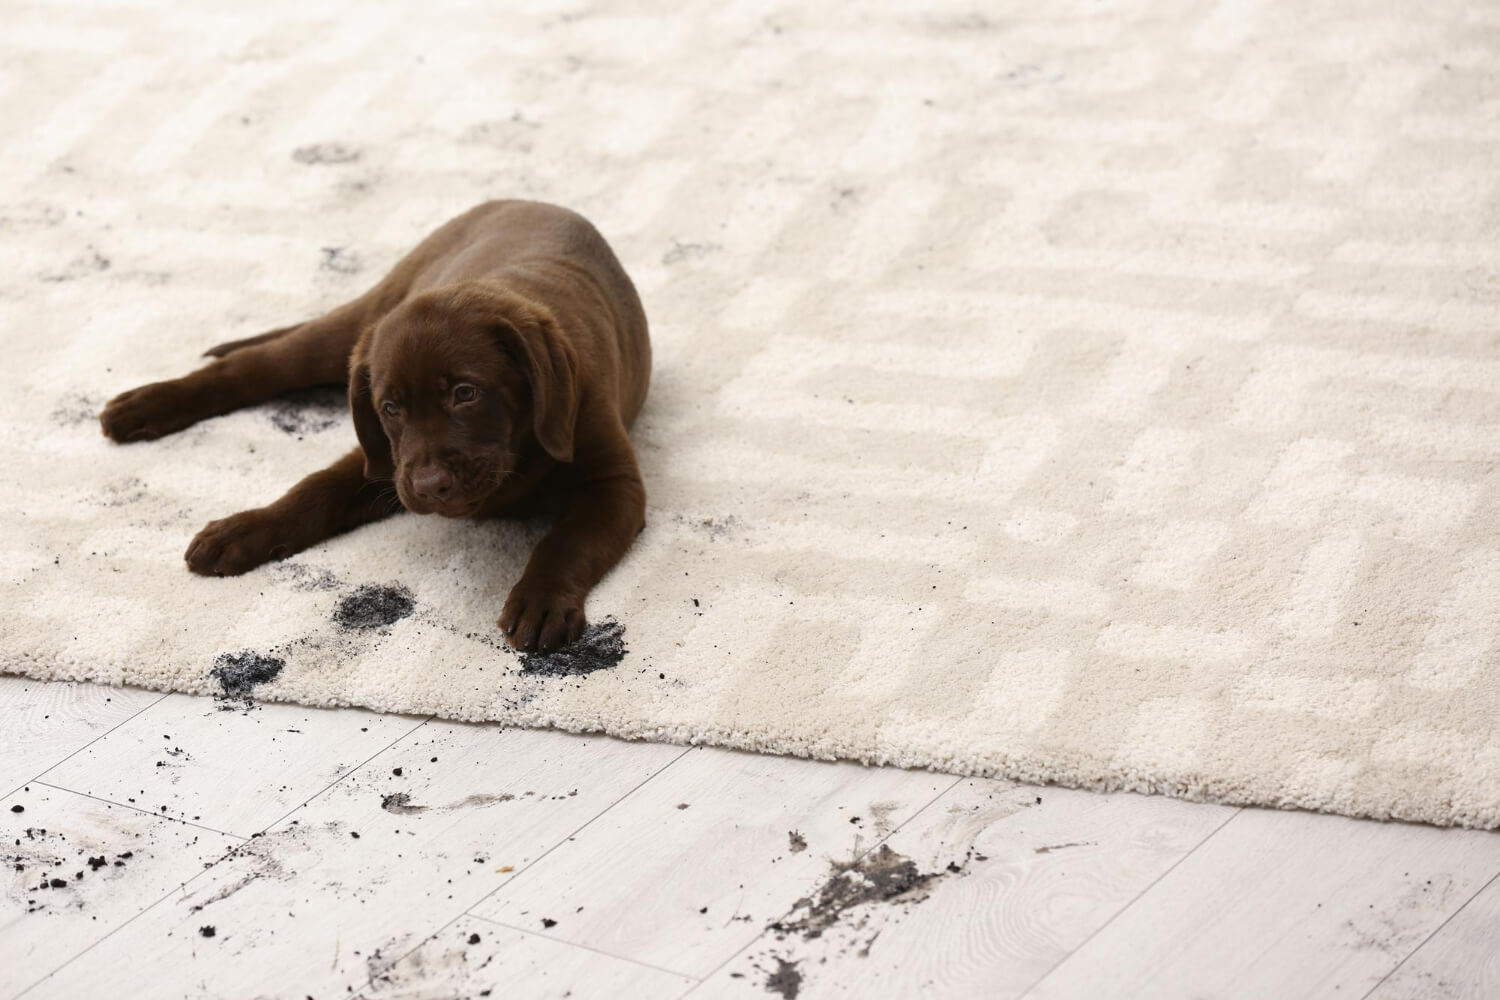
Understanding Why Pet Stains Are So Difficult to Remove
Pet stains contain enzymes, bacteria, and organic compounds that cling to surfaces and penetrate deeper than human eyes can see. Even when a stain “looks” gone, smells and germs can remain trapped in the lower carpet layers. Over time, this can lead to:
-
persistent odors
-
discoloration of carpet fibers
-
bacterial growth
-
mold formation under the carpet
-
damage to carpet padding
DIY cleaning often removes only the top layer. Homeowners use sprays and detergents hoping they will solve the problem, but these store-bought products rarely reach the deeper layers where odor-causing bacteria live. This is why stains tend to reappear or smells worsen after a few days.
A professional service, however, uses industrial-strength equipment and enzyme-neutralizing solutions that break down odor molecules at the source. Companies like Above and Beyond AZ Services specialize in cleaning methods tailored specifically for pet-related issues, making their expertise especially valuable for Phoenix homes exposed to high temperatures that can intensify odors.
Why Phoenix Homes Need Better Pet Odor Solutions
Phoenix’s hot and dry climate is wonderful for outdoor activities, but it creates specific challenges when dealing with pet odors indoors. Heat causes stains and odors to “bake” into surfaces, making them harder to remove without the right tools and techniques. Pet urine that might be manageable in cooler climates becomes significantly more stubborn in Arizona.
Additionally, homes in Phoenix frequently use carpeting to maintain indoor comfort, which means odors can easily settle in thick fibers. Even tile flooring is not immune, as grout lines can absorb residues that create long-lasting smells.
Because of the unique climate challenges, many homeowners in the area prefer contacting a professional pet stain removal company instead of handling the problem themselves. Their equipment, cleaning formulas, and extraction systems are strong enough to break down odor particles even in deeper layers and under high-heat conditions.
The Benefits of Hiring a Professional Pet Stain Removal Company
Choosing professional services offers advantages that go beyond what standard household products can achieve. Some of the main benefits include:
1. Deep Cleaning of Carpets and Upholstery
Professionals use steam extraction, enzyme treatments, and specialized machines that reach deep into carpet padding. This ensures that stains and odors are removed from all layers—not just the surface.
2. Odor Neutralization Instead of Masking
DIY sprays often mask odors temporarily. Professional services neutralize the chemical structure of odor-causing molecules, ensuring your home stays fresh.
3. Protection Against Future Stains
Some companies apply protective coatings that help prevent future stains from penetrating deeply. This makes maintenance easier and extends the lifespan of carpets.
4. Removal of Bacteria and Allergens
Pet stains contain harmful microorganisms that can trigger allergies or affect indoor air quality. Professional cleaning sanitizes your home environment and reduces health risks.
5. Fast and Safe Cleaning Methods
Expert cleaners know which formulas are safe for pets, children, and various surfaces. Their methods provide fast drying times so your home can return to normal quickly.
6. Improved Indoor Air Quality
Odors trapped in carpet fibers release gases into the air over time. Professional odor removal improves ventilation, air purity, and the overall comfort of your home.
Common Areas Where Pet Stains Occur
Pet stains usually appear in areas where pets spend most of their time. Homeowners often notice stains in:
-
living room carpets
-
bedroom rugs
-
upholstered furniture
-
pet beds
-
corners of the house
-
near doors or windows
-
tiled floors with grout
Because pets often return to the same spot if the odor remains, it’s crucial to completely eliminate all traces of previous stains. This prevents repeat accidents and keeps your home cleaner long-term.
How Professional Services Approach Pet Stain Removal
A reliable pet stain removal company typically follows a thorough process:
1. Inspection and UV Detection
Many pet stains become invisible over time. Professionals use UV lights to identify all contaminated areas.
2. Enzyme Treatment
Enzymes break down organic compounds in urine, saliva, and other pet fluids. This step is essential for neutralizing deep odors.
3. Deep Extraction
Using commercial extraction machines, cleaners remove dissolved residues, bacteria, and moisture from carpet layers.
4. Sanitizing and Deodorizing
After deep cleaning, sanitizers and odor neutralizers ensure long-lasting freshness and a hygienic environment.
5. Optional Carpet Protection
Some companies apply fabric protectors that help reduce future absorption of pet stains.
Why Phoenix Pet Owners Prefer Professional Assistance
With busy lifestyles and the challenges of Arizona’s climate, many Phoenix residents choose expert cleaning instead of DIY attempts. Professionals not only restore the appearance of surfaces but also provide peace of mind knowing that harmful bacteria and odors are truly gone.
Companies such as Above and Beyond AZ Services are experienced in handling local conditions, offering fast, reliable, and effective pet stain solutions for all types of flooring and upholstery. Their knowledge makes them a trusted choice for households across the city.
Tips for Keeping Your Home Fresh Between Cleanings
Even if you use professional services, maintaining a clean home daily can help prevent issues from returning. Some helpful tips include:
-
Clean accidents immediately to prevent deep absorption
-
Use washable pet beds and rugs
-
Vacuum carpets regularly
-
Use enzyme-based cleaners for quick maintenance
-
Train pets to use designated areas
-
Maintain good ventilation
-
Schedule professional deep cleaning every 6–12 months
These steps help reduce odors and keep your home comfortable year-round.
Final Thoughts
Pet stains and odors can be frustrating, but with the right approach, your home can stay fresh, clean, and healthy. While DIY products can provide short-term relief, true long-term results come from professional services designed specifically for pet-related issues. If you live in Phoenix and want reliable help, contacting a professional pet stain removal company in Phoenix is one of the best decisions you can make. Companies like Above and Beyond AZ Services offer proven solutions that restore comfort, protect your home, and keep unpleasant odors away for good.
Home and Garden
How Professional Painting and Home Renovation Can Completely Transform Your Living Space
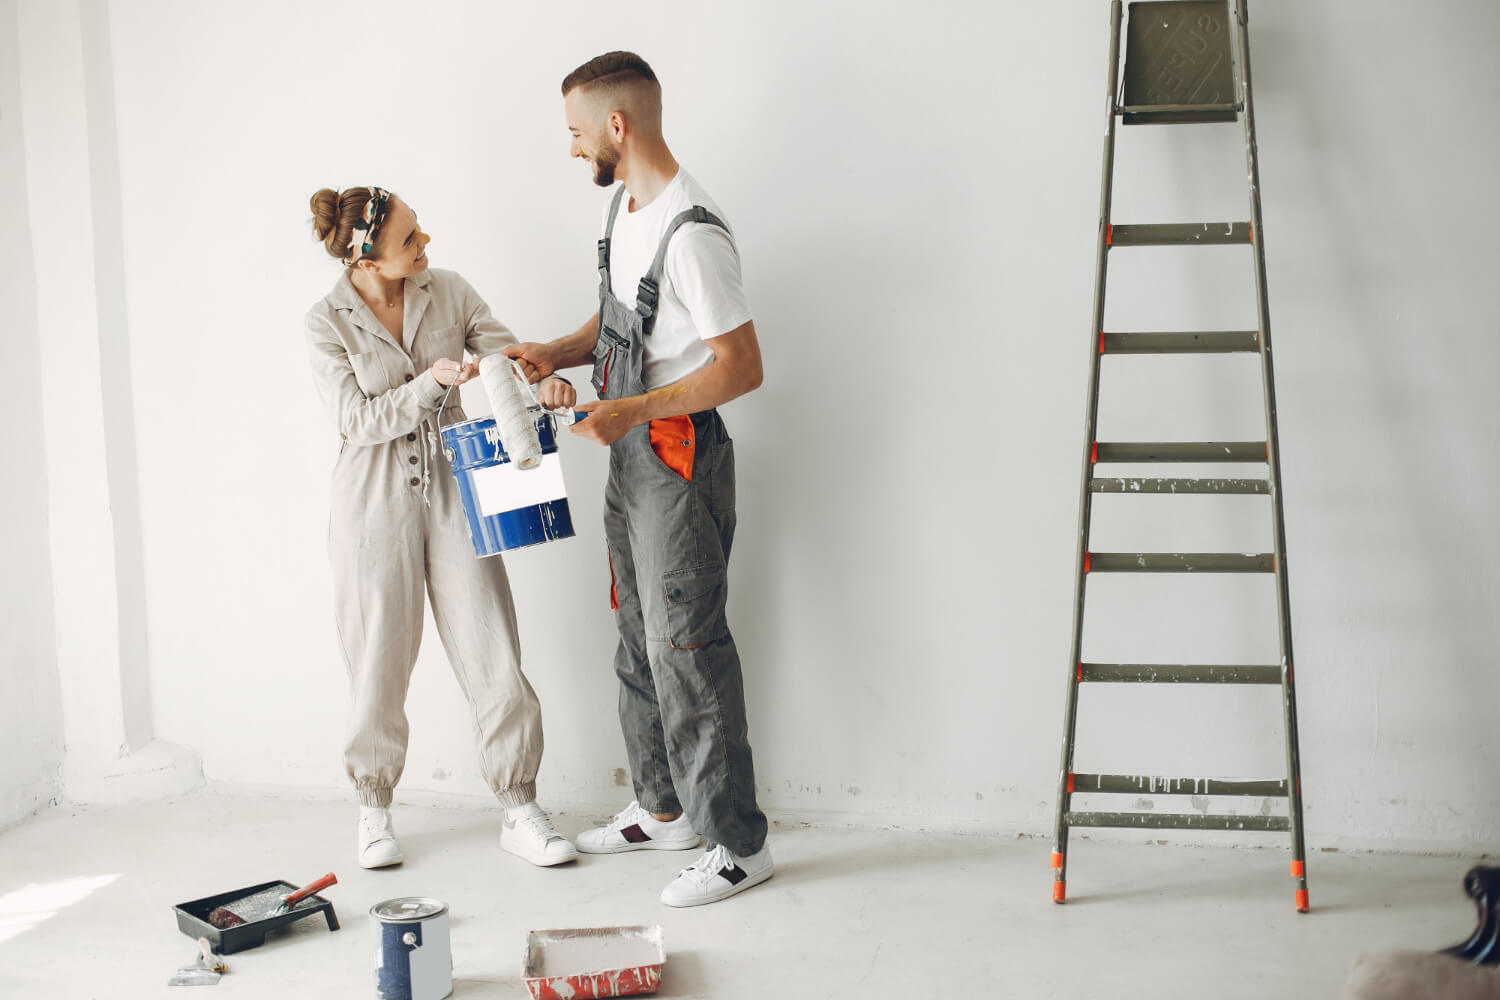
Refreshing or renovating a home is one of the most impactful ways to improve comfort, increase property value, and create a healthier, more inspiring environment. Whether someone is updating a single room or redesigning their entire home, high-quality wall preparation and painting play a major role in the final outcome. Surprisingly, painting is often underestimated—even though it is one of the first things people notice when they walk into a space.
This is why homeowners increasingly turn to trained professionals instead of choosing DIY solutions that may look cheaper at first but usually lead to uneven finishes, peeling paint, discoloration, moisture problems, or surfaces that simply don’t last. In many countries, hiring experts is considered standard practice. For example, if you were looking for a reliable painter in Norway, you would likely come across a trusted malerfirma i oslo, known for delivering precise craftsmanship and high-quality results. This example shows how valuable a skilled team can be, no matter where you live.
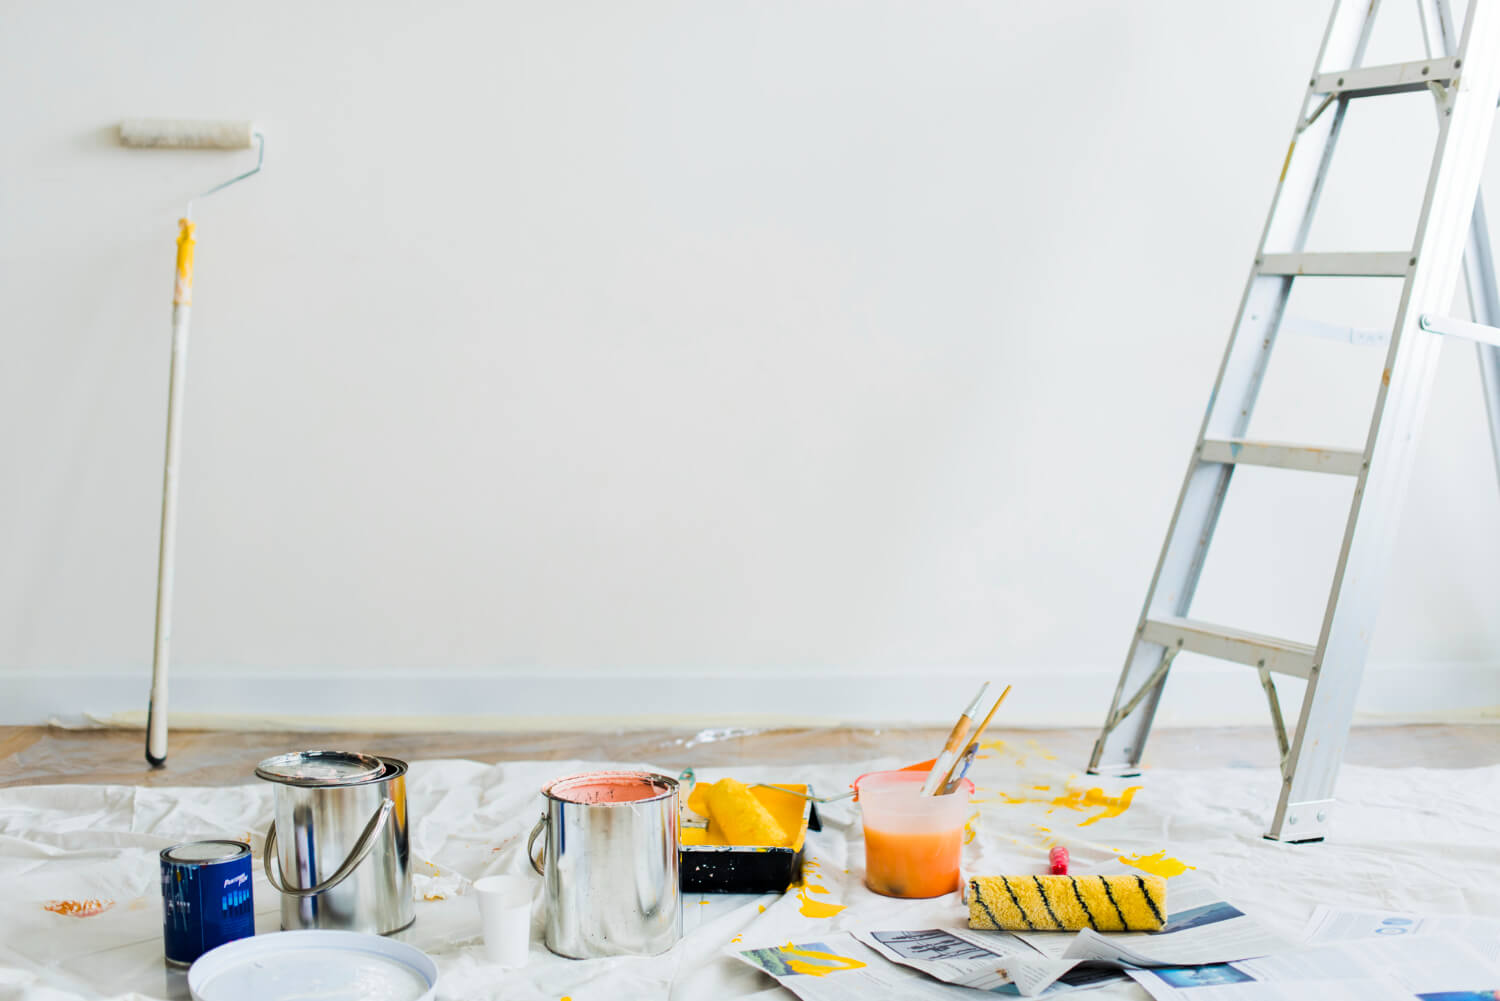
Why proper wall preparation matters
Before any painting begins, walls need to be evaluated and prepared. This step is crucial because even the most expensive paint cannot hide bumps, scratches, cracks, or moisture damage. Professionals understand that preparation often takes more time than painting itself—and for good reason.
Preparation may include:
-
Cleaning walls to remove dust, residue, and old paint
-
Repairing cracks or dents in drywall
-
Smoothing uneven surfaces
-
Applying primer for better paint adhesion
-
Checking for mold or moisture problems
Skipping these steps can lead to problems like bubbling, cracking, or peeling paint just a few months later. When a professional painter handles the project, every layer is applied correctly, ensuring durability as well as a flawless appearance.
Choosing the right materials
Another advantage of hiring skilled painters is their knowledge of materials. Not all paints are created equal; some are better suited for kitchens and bathrooms, others for living rooms, and some for high-humidity spaces. Professionals know the differences between matte, satin, eggshell, and high-gloss finishes—and can recommend what will work best based on lighting conditions, lifestyle, and the overall design of the home.
In places where techniques and materials are taken very seriously—such as the well-known malerfirma i oslo in Norway—clients receive expert guidance on eco-friendly, long-lasting, and stain-resistant options. This mindset serves as inspiration for homeowners everywhere to prioritize quality over low-budget quick fixes.
When is the right time to repaint your home?
Paint doesn’t last forever. Even the best finishes eventually wear down due to sun exposure, humidity, cleaning chemicals, and everyday use. Here are common signs it’s time to repaint:
-
Walls look dull or uneven
-
Visible stains or marks no longer come off
-
Paint is peeling or cracking
-
Color has faded from sunlight
-
You’ve recently renovated or repaired the room
-
You want to refresh your interior style
Most experts recommend repainting every 3–7 years depending on the room. High-traffic areas such as hallways, kitchens, and children’s rooms may need more frequent updates.
The value of professional painting for homeowners
While some homeowners enjoy DIY projects, painting is one area where hiring an expert saves time, prevents frustration, and guarantees better results. Here are the biggest benefits:
1. A flawless finish
Professional painters know how to achieve clean lines, consistent color, and perfect coverage—without the streaks or uneven patches that often appear in DIY jobs.
2. Long-lasting results
Proper surface preparation, primer selection, and use of quality paint ensure that the finish will last much longer.
3. Time efficiency
Painting an entire home can take days or even weeks for an inexperienced homeowner. Professionals complete the job much faster while maintaining high standards.
4. Safety and correct equipment
High ceilings, ladders, and certain chemicals require knowledge and proper tools. Professionals are trained to handle these safely.
5. Increased home value
A clean, modern, professionally painted interior can significantly improve the appeal and resale value of any property.
How to choose the right painting company
Selecting the right team is essential for a successful renovation. Here are key things to look for:
-
Experience and portfolio — photos of previous work
-
Transparent pricing — no hidden costs
-
Quality materials — reputable paint brands
-
Good communication — clear explanations and timelines
-
Customer reviews — real feedback from clients
If you were searching internationally—say, moving to Scandinavia or renovating a home there—finding a trusted malerfirma i oslo would follow the same principles: look for experience, reliability, and craftsmanship.
Why painting greatly improves home comfort
A fresh coat of paint does more than make a home look nicer. It can influence:
Mood
Colors affect how people feel. Soft tones create calmness, while vibrant colors bring energy.
Cleanliness
New paint eliminates odors, stains, and signs of wear, making the home feel fresher and more hygienic.
Lighting
The right color can make a room look brighter, larger, or more open.
Personal style
Painting is one of the easiest ways to express personality and create a space that feels uniquely yours.
Final thoughts
Home renovation doesn’t always require major construction. Sometimes, proper wall preparation and professional painting are enough to completely transform a living space. By trusting trained experts, homeowners get long-lasting beauty, better durability, and increased comfort. And as the example of a reliable malerfirma i oslo shows, quality craftsmanship is appreciated everywhere—whether in Norway or in your own neighborhood.
Investing in professional painting is one of the simplest yet most powerful ways to refresh your home and enjoy a new atmosphere without overwhelming expense.


What Happens After Training Determines Your Progress
What you do after a workout is just as important as the training itself. Many people focus entirely on the...


How Mental Wellbeing Impacts Your Body Transformation
Emerging science is reshaping how we understand fat loss and physical performance by focusing on how the body regulates energy,...


Retatrutide Peptide: A Breakthrough in Obesity and Metabolic Research
Retatrutide is one of the most talked-about experimental peptides in medical research today, especially in the fields of weight management...


The New Meaning of a Balanced Life: How Modern Lifestyles Are Being Redefined
For years, the idea of a “balanced lifestyle” was portrayed as an ideal mix of career success, social activity, fitness,...


Mastering Time Management as an Entrepreneur
As an entrepreneur, time is one of your most valuable assets—but also one of the easiest to lose control of....
-

 Mental Health2 years ago
How Hobbies Can Transform Your Mental Health
-
 Business2 years ago
Maximizing ROI: Effective Newsletter Strategies for Your Business
-
 Business2 years ago
How to Create a Sustainable and Eco-Friendly Home
-
 Fitness2 years ago
Healthy Eating Habits for a Busy Lifestyle
-
 Business2 years ago
How to Organize a Successful Workshop: A Step-by-Step Guide
-

 Fitness1 year ago
Effective Methods to Speed Up Wound Recovery
-
 Fitness2 years ago
Adapting Your Training Sessions for Different Fitness Goals
-
 Mental Health2 years ago
Coaching Techniques for Overcoming Challenges